
How To Create A Jewelry Organizer
If you can see it, then you will wear it.
That is my fashion motto when it comes to accessories and jewelry and shoes!
It is so much easier to pull together outfits from your own closet when you can easily see (& “shop”) your belongings.
Since moving into an apartment years ago and having a small collection of costume jewelry, I’ve always had the jewelry hanging up or out somewhere near my clothes.
That is until we moved into our house complete with it’s plaster walls.
Option 1: Use Command Hooks to hang the jewelry individually on the wall.
This seemed very cluttery to the eye for me.
Option 2: Use Command Hooks to hang a corkboard or shadow box to display my wares.
I don’t trust Command Hooks enough to hold up something that is heavy and used for an extended period of time.
Option 3: Put them in a drawer.
Vetoed immediately as it violates my rule.
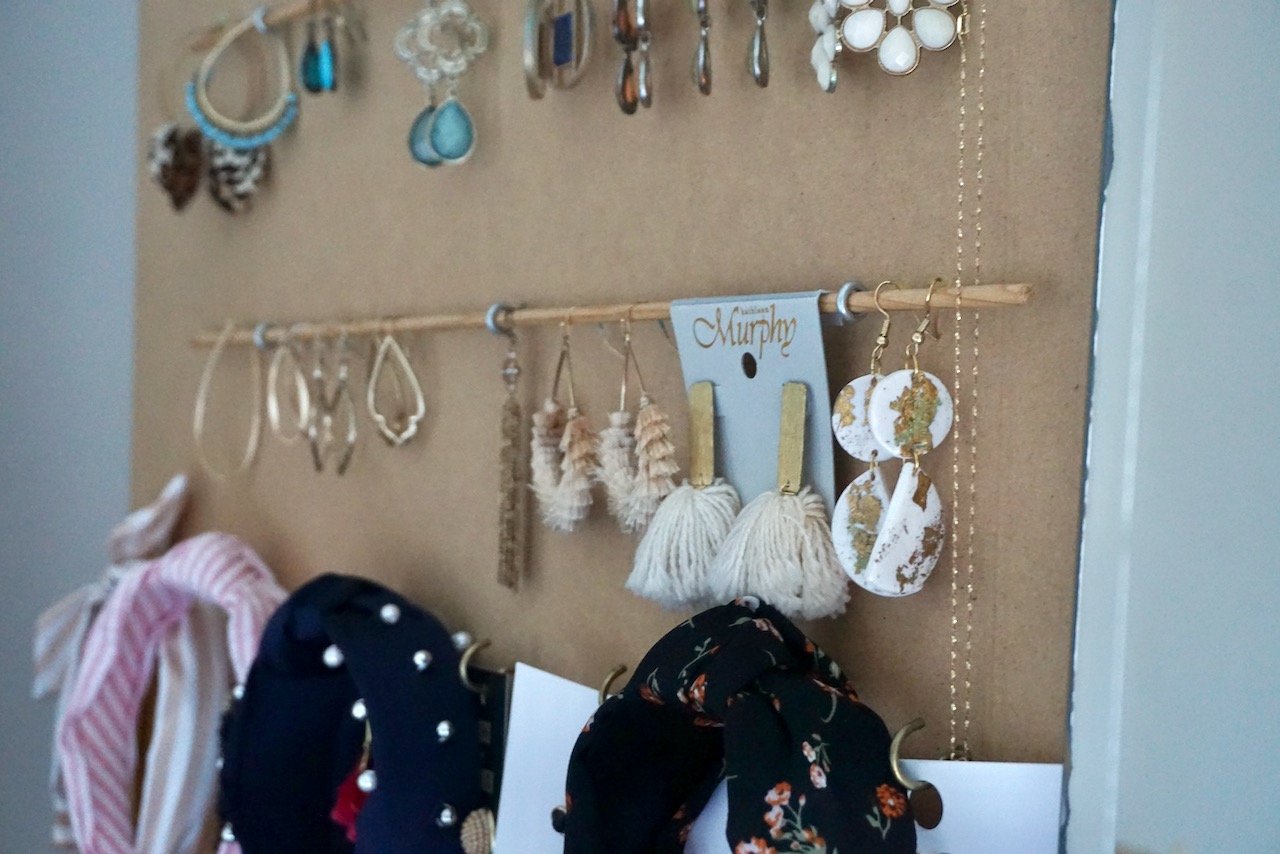
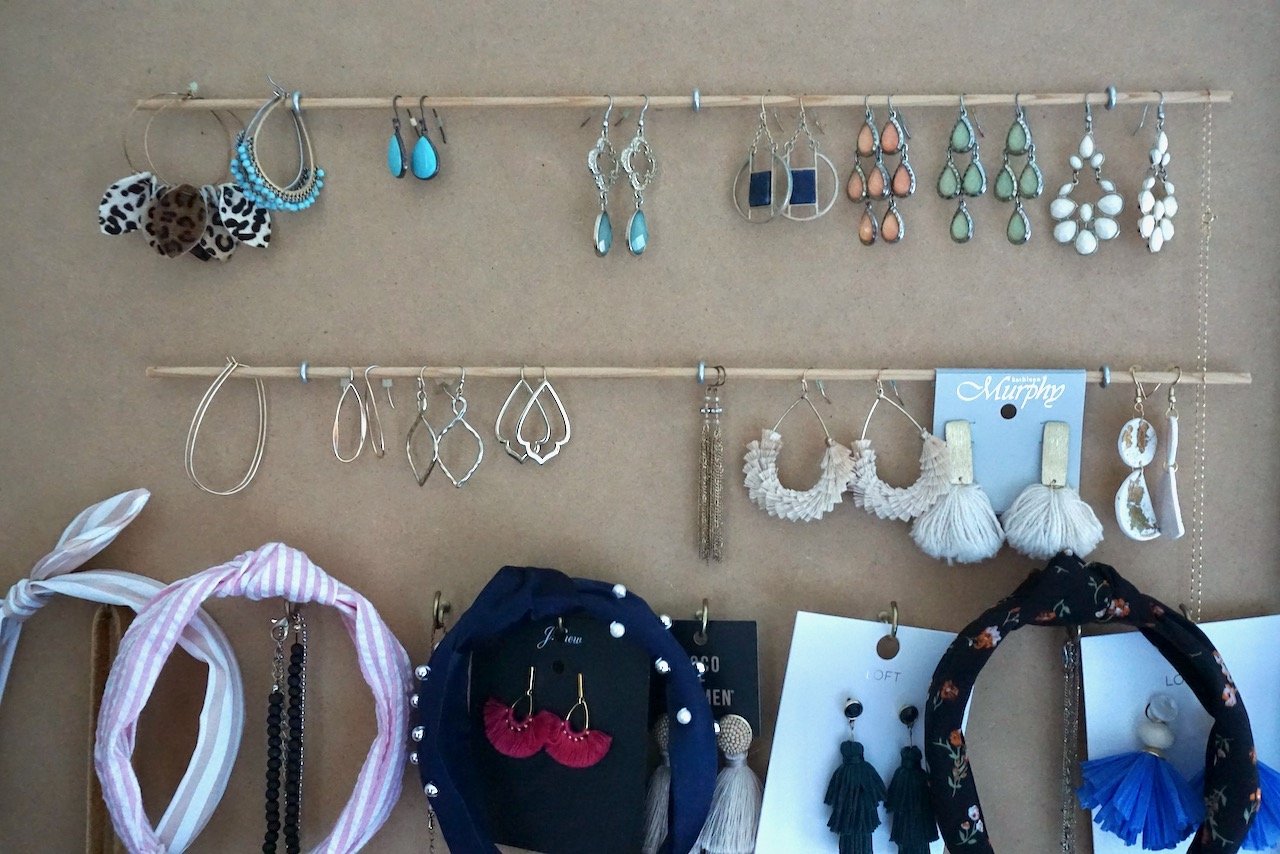
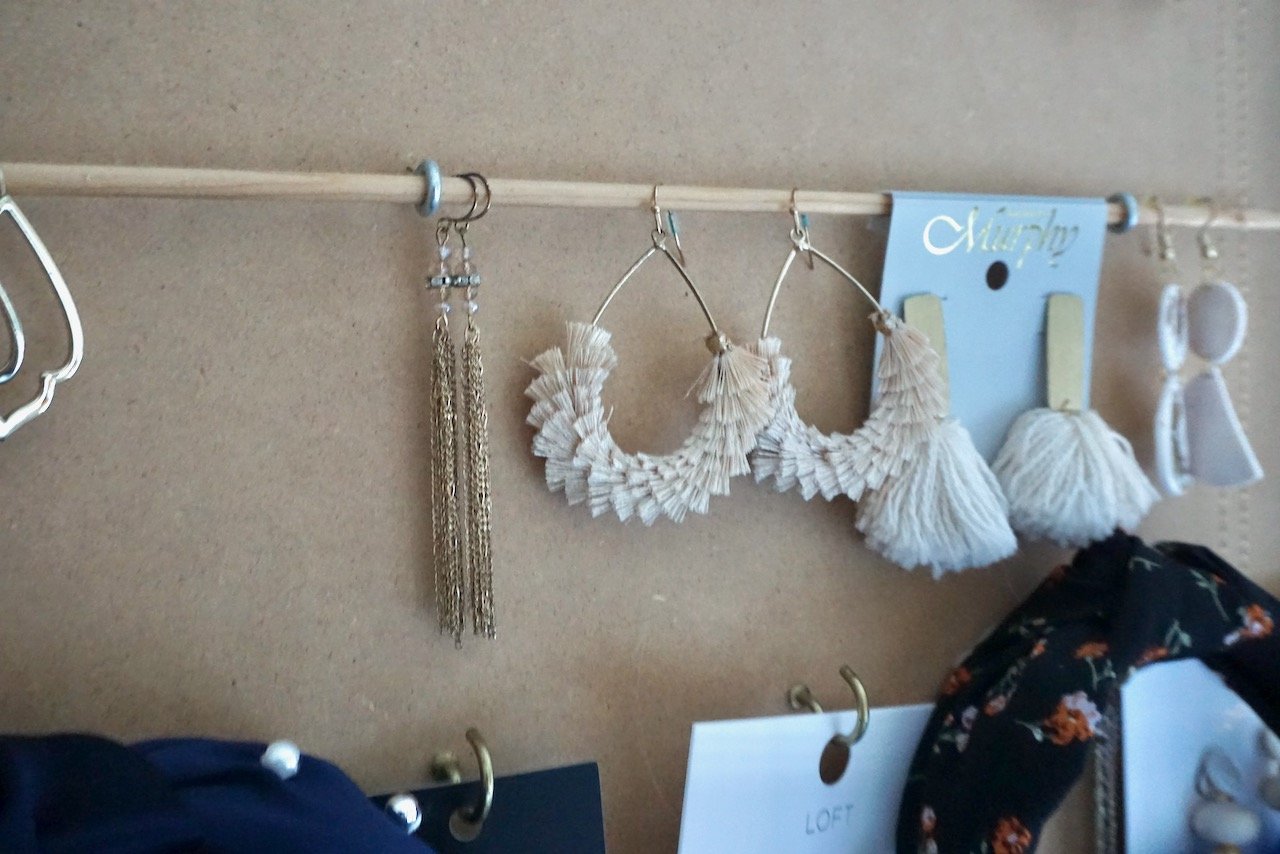
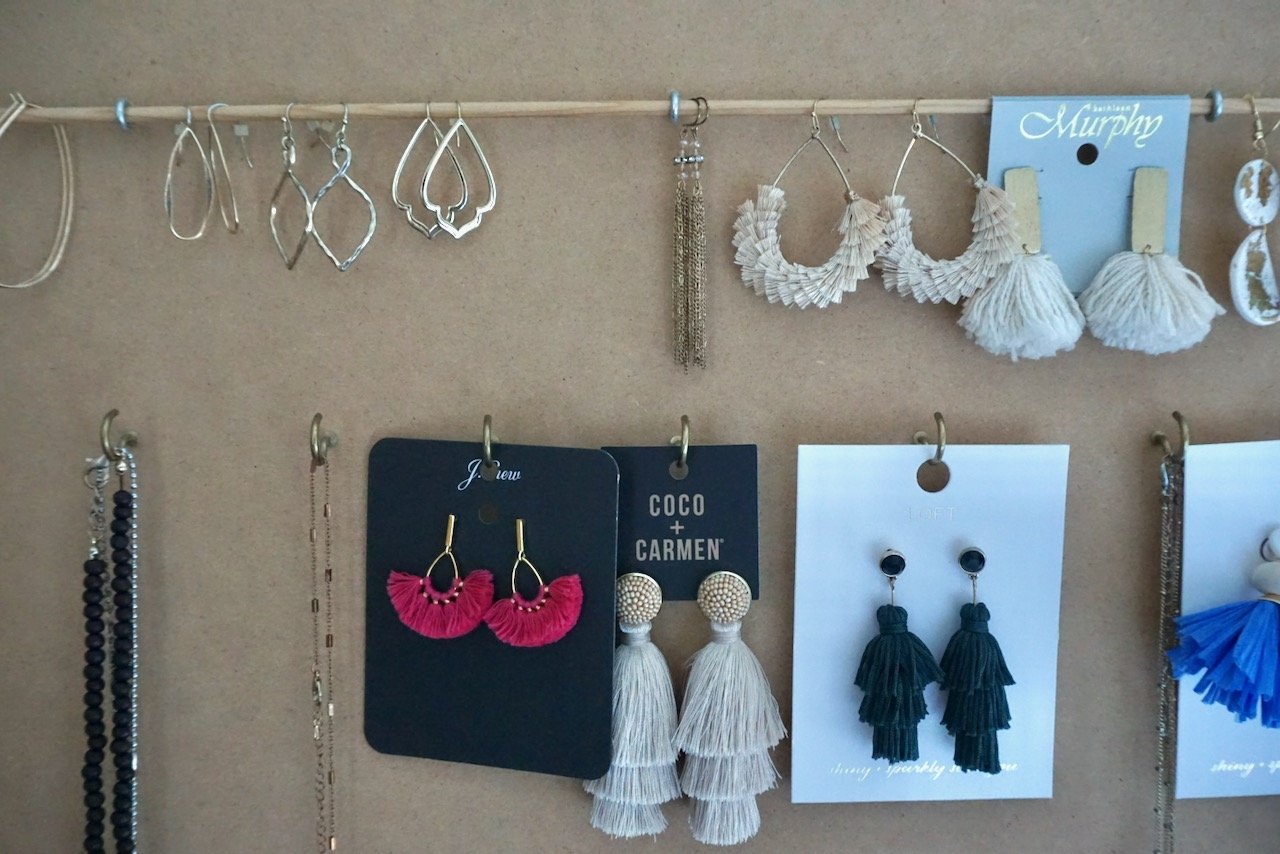
Option 4: Build an organizer.
I decided to go the DIY route because I wanted to customize the look and feel of the organizer. The large mirror jewelry stands are great but it wanted something a little more slim in profile.
Here was my inspiration:

I decided to make my own wall out of MDF. I measured and had the home improvement store cut the MDF down to size for me.
I bought dowels and hooks and came home to make my organizer.

It took roughly one hour to drill the holes and measure out what I wanted where. For an investment of $50, I am very pleased with how it turned out!
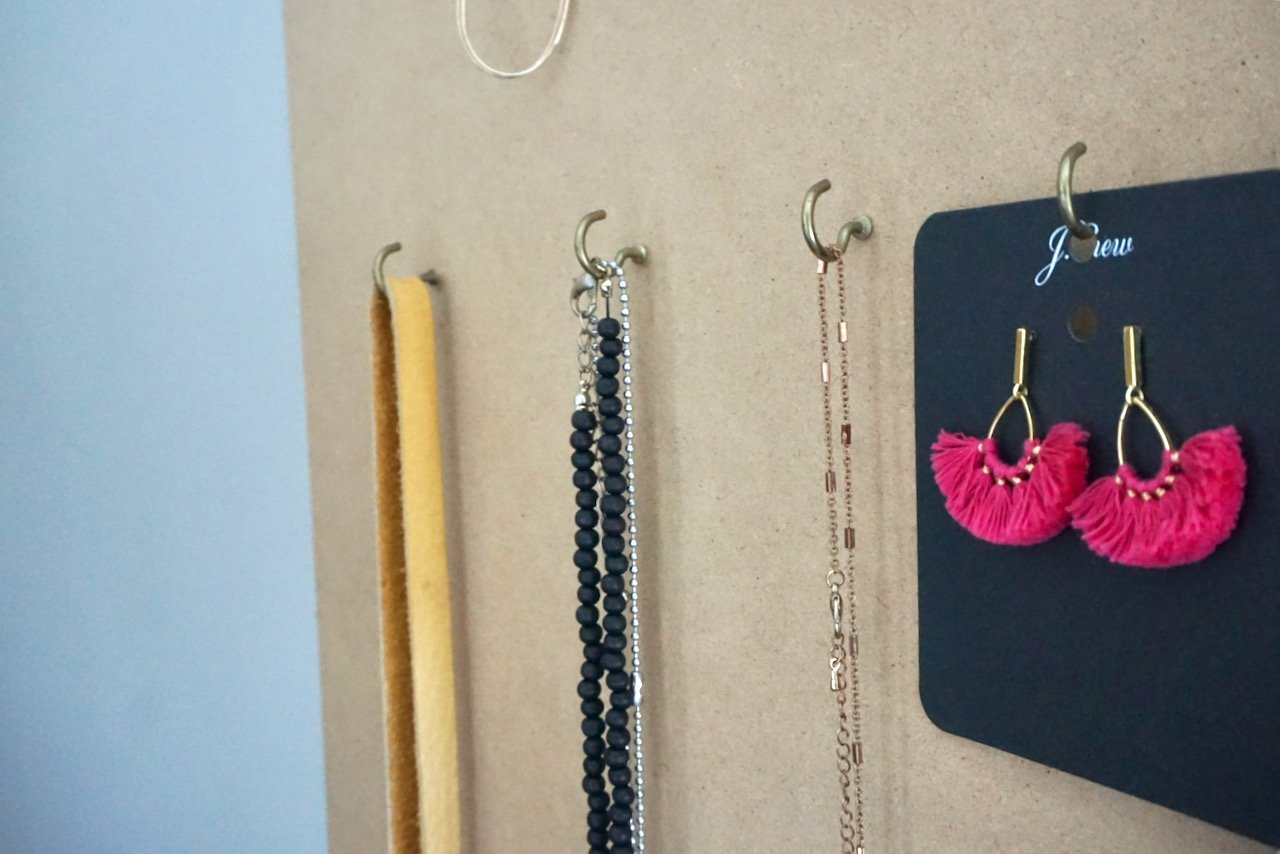

Level Up Tip: Paint the MDF the same color as your wall.
Now I’m debating on changing it up and adding something for my headbands (since I continue to buy pretty ones when I see them out). :)
What you do think of this DIY project with an organizing payoff?


Preserve your loved one’s obituary with this Memorial Bookmark. Trim the obituary from the newspaper and attach to the bookmark with double-sided tape.
Tips:
- Print on cardstock
- Print double-sided
- Trim the sides and bottom
- Attach the obituary from the newspaper with double-sided tape
To preserve it, we recommend laminating it!
I use Office Depot or the UPS store for all my laminating needs.
FOLLOW ALONG ON INSTAGRAM


These are products I LOVE. Some of these products are affiliate links, meaning, at no additional cost to you, I get a commission if you click through and make a purchase. For more information, check out my disclaimer. Thank you for your support!